Procedure: how to create a new pvs vdisk from an existing
Oftentimes I find myself with the need to create a new Provisioning Server vDisk from an existing “base” image. If you have an existing image that is a good starting point for the image you wish to create, this will cut down on the effort required. The following are the steps to create a new PVS vDisk from an existing vDisk.
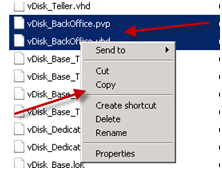
step 1: make a copy of the pvp and vhd files of the existing vdisk
Go to your Provisioning Server vDisk store and make a copy of the PVP and VHD files of the existing vDisk.
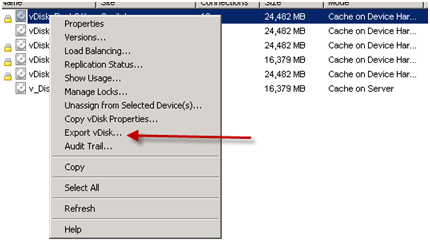
step 2: export the existing vdisk
Go to the Provisioning Server Console, go to the vDisk Store and right-click the vDisk and export:
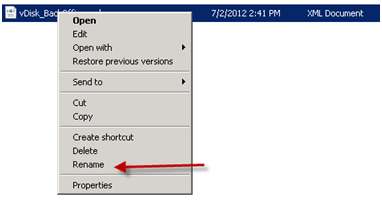
step 3: rename the xml file from the export to the new vdisk name
In the directory where your vDisk store is located, find the xml file which was created for the vDisk you just exported and rename to the name of the new vDisk.
step 4: rename the copied pvp and vhd files to the new vdisk name
In the directory where your vDisk store is located, find the copies of the vDisk PVP and VHD files which were made in the previous step and rename to the new vDisk name (same as in step 3).

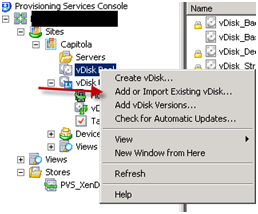
step 5: import the new vdisk
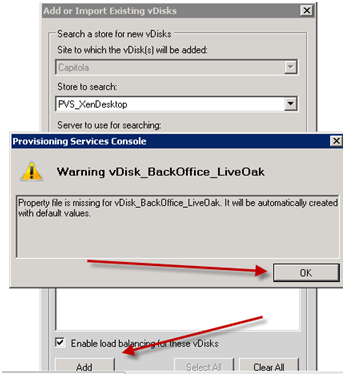
Go to the Provisioning Server console and right-click the vDisk Pool and click import:
When the dialog box opens, click on “Search” and select your vDisk, the click “Add”. If the following dialog opens, click “ok”:
Your new vDisk will now be available in your vDisk store.
