Procedure: how to update a provisioning server vdisk
Time to apply some updates!
To create a new version:
-
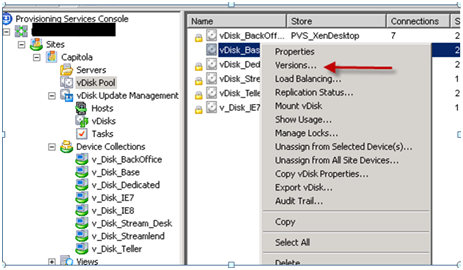
In the Provisioning Server Console, right-click on a vDisk to version within a device collection or vDisk pool, then select Versions… from the context menu. The vDisk Versions dialog appears.
Note: Verify that the vDisk is currently not in Private Image mode.
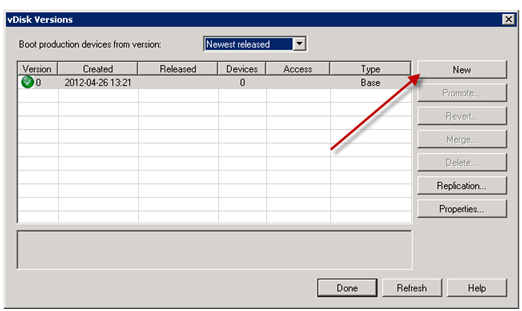
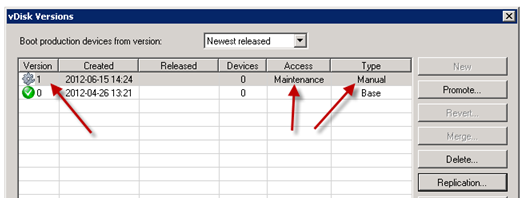
- Click New. The new version displays in the dialog with Access set to Maintenance and the update Type method set to Manual.
-
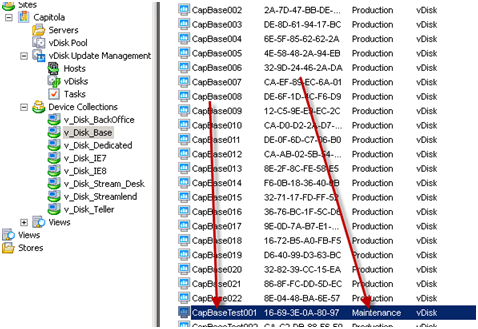
On Provisioning Server console select a device to use for maintenance and put in maintenance mode,(it should also be in maintenance mode on XenDesktop console. Go to Xenserver and boot the vDisk from the Maintenance device, install or remove applications, add patches, and complete any other necessary updates, then shutdown the Maintenance device. Optionally, test that changes were made successfully.
Note: If booting a Test or Maintenance device, a boot menu displays that allows the user to select from which vDisk, or version of that vDisk, to boot from.
Select “1″ for maintenance.
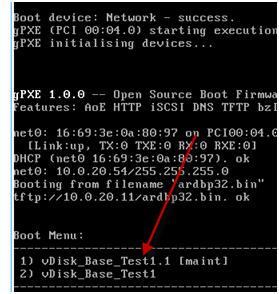
After you finish with updates shut down maintenance device
-
In provisioning services console, right-click on the vDisk, select versions, then select the Promote… menu option from the context menu that appears.

Then choose test or production:
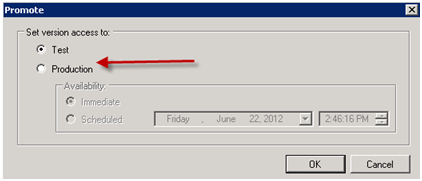
Target devices that are set to test can access test versions of the vdisk.
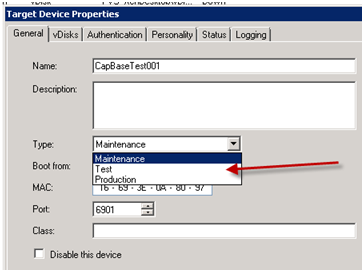
Promote to production when you are ready. This ends maintenance. The next time a user logs into the desktop they will receive the latest version.
